Building a row format is the final building block in the Mondial CRx report writing process. Once this has been completed users will be able to use a combination of Headers, Footers, Columns, and Rows to generate an actual report. Row formats are defined to establish the type of data a row will contain, including:
- A description for a row
- Whether a row will be
- A header
- A details row containing data
- A row containing a calculation
- A blank row
- Which Chart of accounts a Row Format should utilize
- Whether additional attributes should be applied to the row, for example, whether the natural accounting DR or CR balance for rows should be reversed.
The process of adding a new row format is explained below.
Building a Row Format and adding Calculation Details
To start building a Row Format, chose Row Format from Report Writer on the main menu.
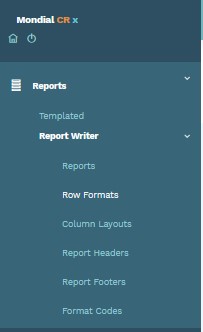
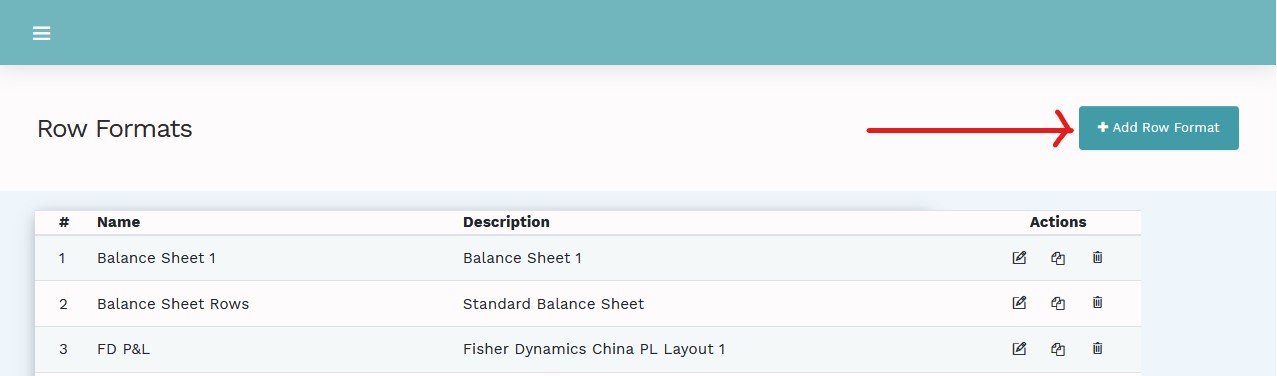
Select Row Format to display a list of all previously defined Row Formats and create a new row format definition by clicking on the Add Row Format button at the top left of the screen.
Note

This example will assume that the user wishes to build a relatively high-level
Row format based on the Group chart of accounts which has been already created
in the Enterprise Set-Up section of Mondial CRx. (Of course, additional,
more detailed Row Formats may also be created, which may be more relevant to
local company reporting and would use the company’s local chart
of account).
Select Add and the following screen layout will be presented.

The Row Format Requires a name and a description.
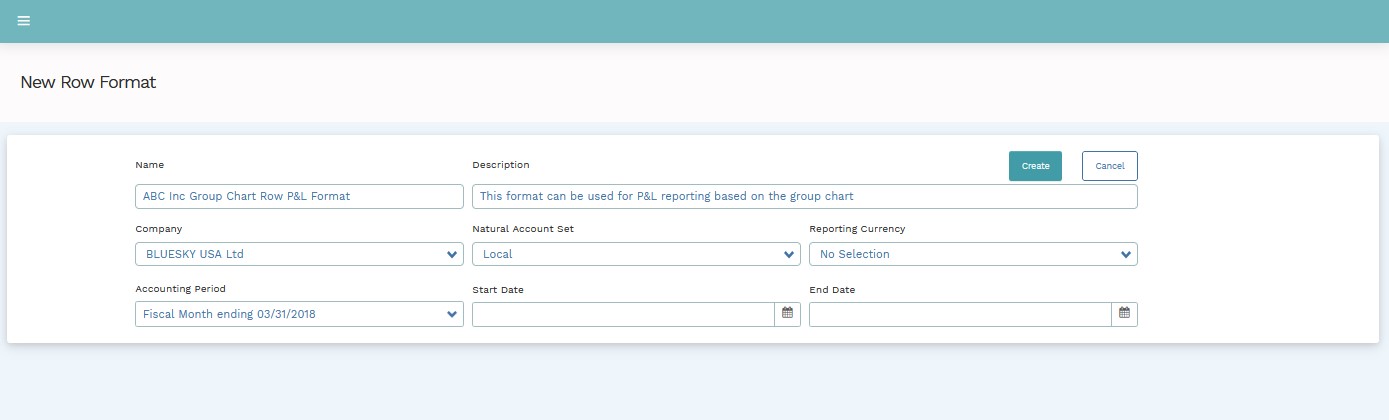
Guidelines for Entry
| Field | Nature | Description |
| Name | Data entry | Enter the name of the new row format |
| Description | Data Entry | Enter the description of the new row format |
| Company | Drop Down | Override the return data to a specific company |
| Natural Account Set | Drop Down | Select the account set to be used for reporting. These will have been created during the enterprise setup phase. Examples might be; Local, French Statutory Accounts, Canadian GIFI, and Group templates. |
| Reporting Currency | Drop Down | Select the reporting currency. Mondial CRx supports multiple currencies which are established during the application's enterprise set phase. Examples might be USD, CAD, EUR, GBP, and MXN. |
| Accounting period | Drop Down | Select from one of the pre-defined reporting periods which are established during the application's enterprise set phase. |
| Start Date and End Date | Data Entry | A user can customize the reporting period by defining the start and end date for reporting. |
Note:

Why are  Company, Reporting currency and accounting period needed at this stage?

As you build up your row format (the process described in detail below), Mondial
CRx will use the information for company, currency and accounting period to return
the relevant data for each row as it is established. This provides the row format
author with a valuable 'check' on the entries that they have made.
The following screen will be presented once the new row format is created.
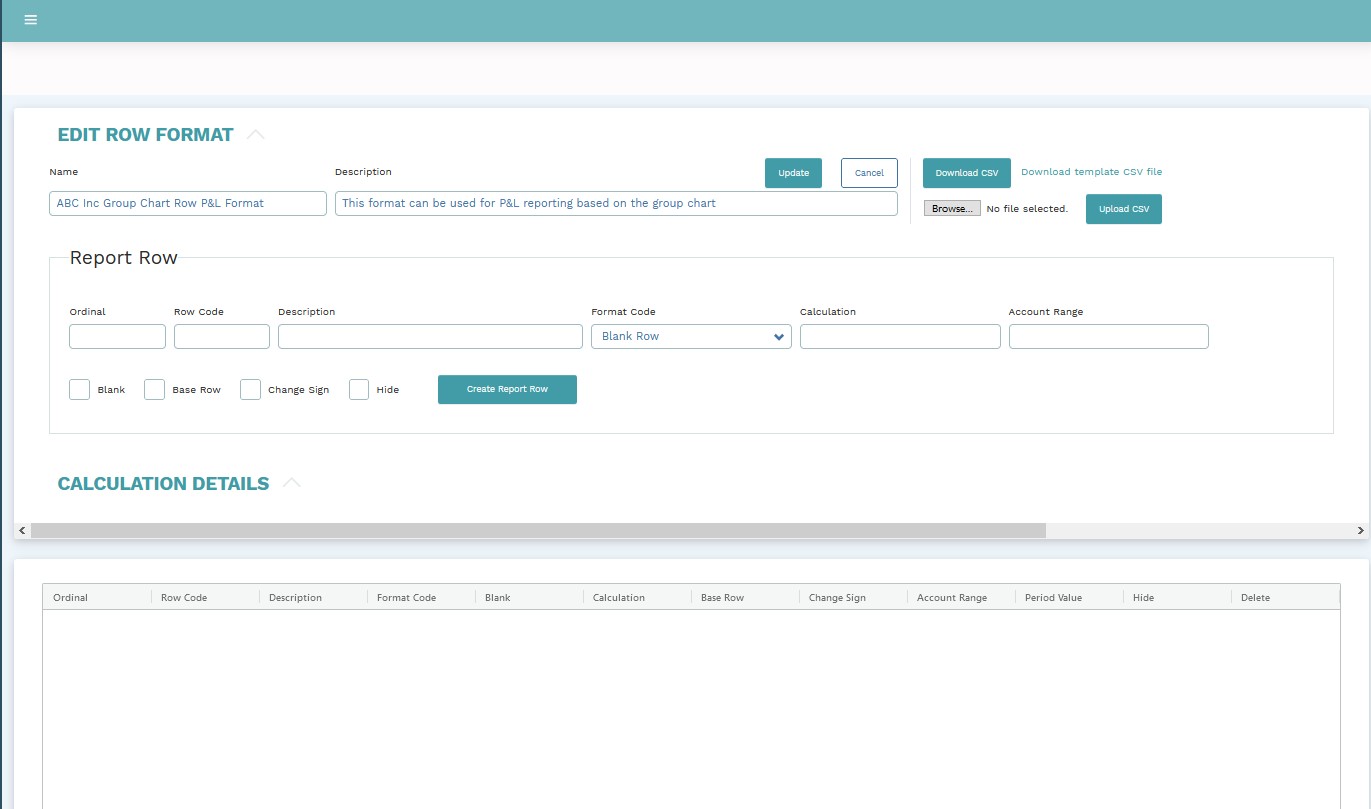
This screen shows the following elements and their description
| Row Format. | This is the header information to be created. It can be amended and updated if necessary on this screen |
| Report Row | This section is used to add individual rows to the row format and define the specific content and attributes of the row |
| Calculation Details | Click on the calculation details text and a drop-down will reveal the Reporting Set plus the parameters that will be used to calculate checksum data for each of the rows created in the next stage of the Row Format build process. |
| Display section | This panel will build a list of each row once it is created in the report row section |
Add Report Rows
The next step in defining the Row Format is to start adding individual report rows. Information that needs to be added to the panel is as follows:
| Option | Nature | Description |
| Ordinal | Data Entry | Enter a number that will determine where the row appears in the list of rows to be added. A typical ordinal sequence would be 10, 20, 30, etc. This provides scope to insert new rows between rows already created (e.g. an additional ordinal 15 would be naturally inserted on creation between existing ordinal 10- and 20) |
| Row Code | Data entry | Enter a unique Id for the row. The row code is used as a reference code for any row calculations that may be added later in the list of rows. A suggested option is a letter concatenated with the ordinal – so A10, A20, etc. |
| Description | Data Entry | A narrative for the line (e.g. Sales). This description will be displayed in the column defined as a description column in the Column Layout on report creation. |
| Format Code | Drop down. | This governs the appearance of the row when the run is a report. The options available will already have been determined under the Format Code setup. Please see relevant articles for further details. |
| Calculation | Data Entry | This option is deployed where a calculated row is required. For example, to calculate Gross Profit by deducting a defined Cost of Sales row from a defined Sales row |
| Account range | Data Entry |
This field is used to specify the account codes that will be used to retrieve data for the columns as defined in the column layout to the report. Note that the code used will need to be sensitive to the Natural Account Set selected earlier in the row format definition. In our example “Group Template” was chosen, so the account or range of accounts added here will need to be valid Group account codes. Valid types of entry to this field are: Individual account: e.g. 1234 Range of accounts: e.g. 1000:4999 |
| Blank | Check Box | This is used as a separator between rows. Selecting blank will simply add a blank line (so all that is required is an ordinal and a row code) |
| Base Row | Check Box | |
| Change sign | Check Box | Selecting this option will reverse the display format for a line. For example, if it is required to show sales as positive values (as opposed to their natural credit or minus), then this should be checked. |
| Hide | Check Box | Simply a way of hiding a line. An example may be where data is required in the row format so it can be used as part of a calculation but should not be displayed when a report is run. |
In our example, our first row will be with data as below.
Note that we have set the change sign attribute to true (so that sales show as positive numbers on the report).

Before clicking on the Create Report Row icon, please enter the calculation details for the row.
To do this, click on the Calculation Details text and a drop down will be revealed. Enter the relevant information depending on the reporting requirements.

Once everything is set, click on the icon highlighted below; Create Report Row to generate a new report row.
Notice that, based on our test reporting currency and accounting period selections in the Calculation Details panel, the period value has been updated automatically so the user can check that their row selection criteria are an accurate reflection of what they require in the row.
In the running example, this is what the newly created row looks like.

You can also add calculation rows and blank rows. To add a blank row, simply check the Blank Row box. To add a Calculation row, double click on the intersection of the Ordinal Row with the Calculation Column and key in the relevant calculation formula.
Similarly add additional rows with ordinal 20, 30, and 40 with attributes as shown below.
Notice that ordinal row 30 is designated a blank row and ordinal row 40 is a calculation row. On both rows, there are different format codes applied and on row 40, a calculation formula, which generates a Gross Profit figure based on Sales – Costs

This completes the addition of the first Row Format.
Return to the Row Format home screen and the new format will be visible in the list.
Additional Row Format features
Row Format definitions can be downloaded/uploaded to and from Excel. This feature can be useful where a Row Format contains many rows and a user would prefer to maintain the format in an environment where typical MS Windows features such as copy/ paste are readily available. This can speed up the Row Format creation process. This feature is available in the top right section of the edit Row Format; the boxed section in the illustration below.

See More on CSV and Excel Upload and Download
Recalculate: This option only works when the auto-recalculate box is unchecked. The Recalculate button causes the Row Format to recalculate all of the row balances for the chosen period and capture changes made in any row. The option also saves the changes made to the calculation details.
Auto-Recalculate: Check the auto-recalculate box for true and any changes within the rows will automatically reflect in the balance column.
Comments
0 comments
Please sign in to leave a comment.